Tutorial: Saving the Studio Wall
Saving the Studio Wall
Save vs Save As
When you're adding a Studio Wall, you only have one option: The Save button ( ).
).
When you're updating a Studio Wall, you have two options: Save () and Save As ( ).
).
Save: The Save button will save any changes you have made to this Studio Wall.
Save As: The Save As button will save any changes you've made to a new Studio Wall, leaving the original intact. Plus, Save As gives you an opportunity to save a subset of the items on your wall.
Save As Options
The Save As feature has different behaviors depending on what you've selected or filtered:
-
💎 Selected Items Only
If you have selected or multi-selected (by holding the CTRL key while clicking items), when you click Save As, you will make a new studio wall with only those selected items.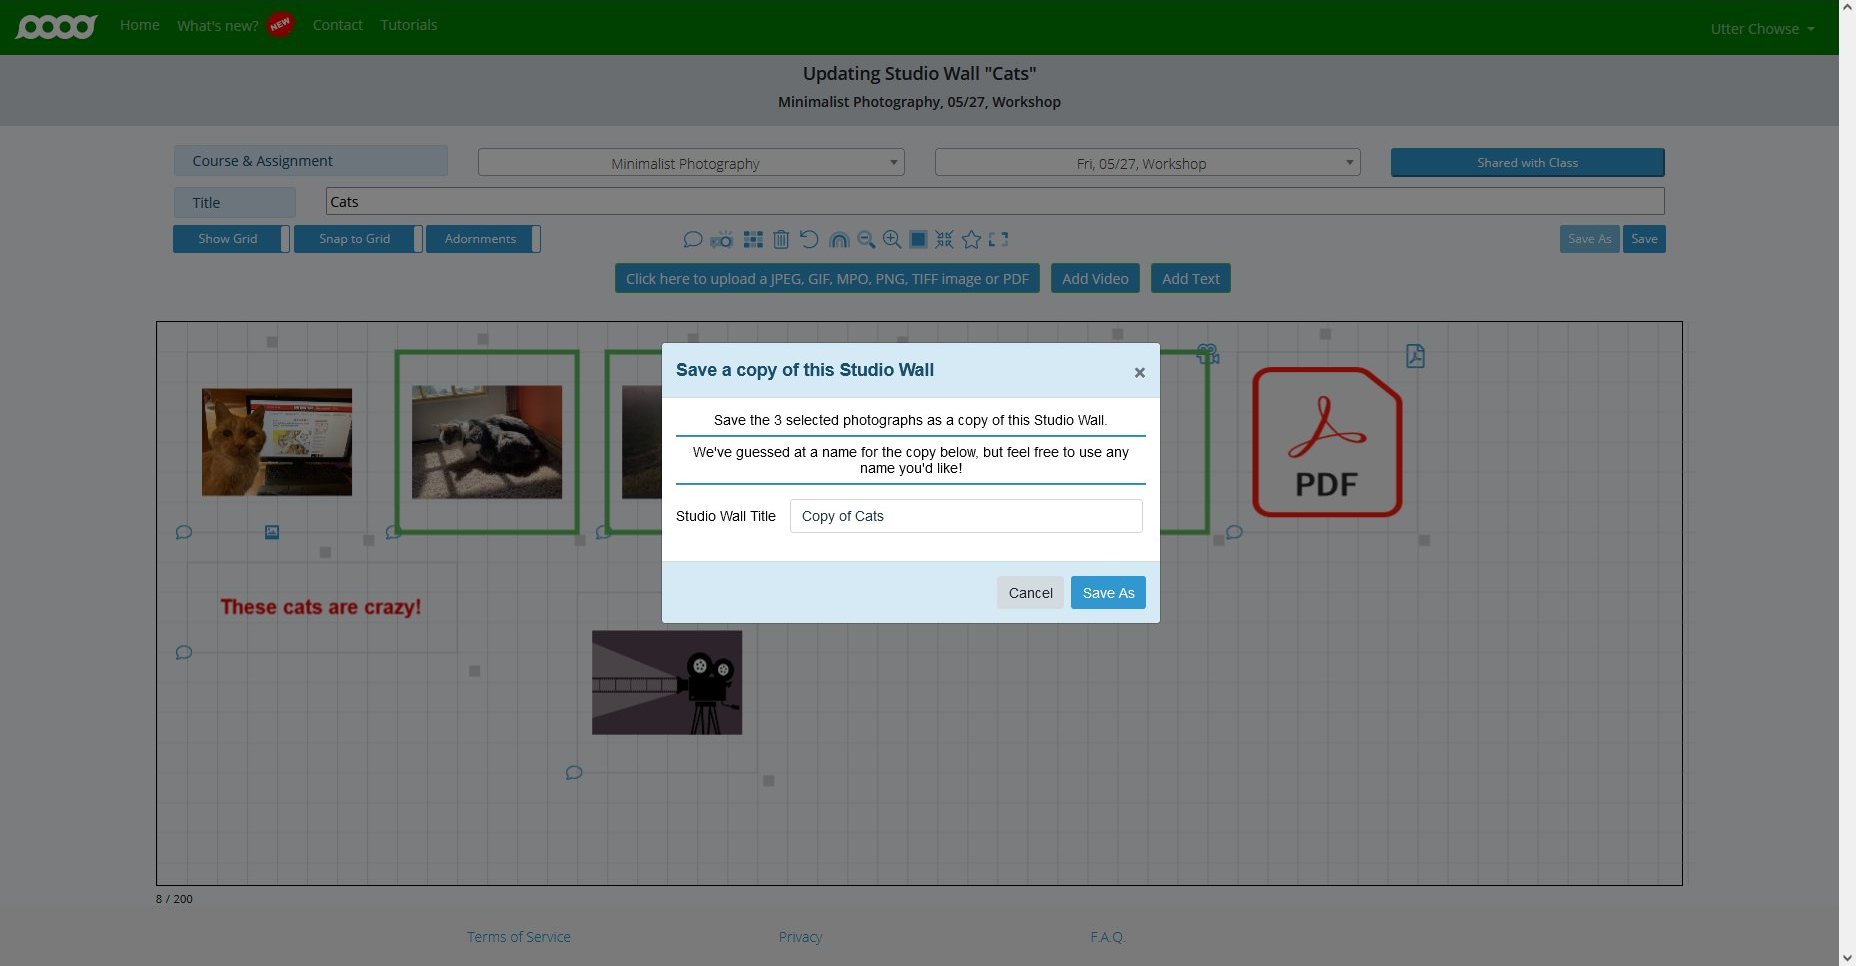
-
⭐ Starred Items Only
If the studio wall has starred items, and you have used the toolbar to view only the starred items (remember how?), when you click Save As, you will make a new studio wall with only those starred items.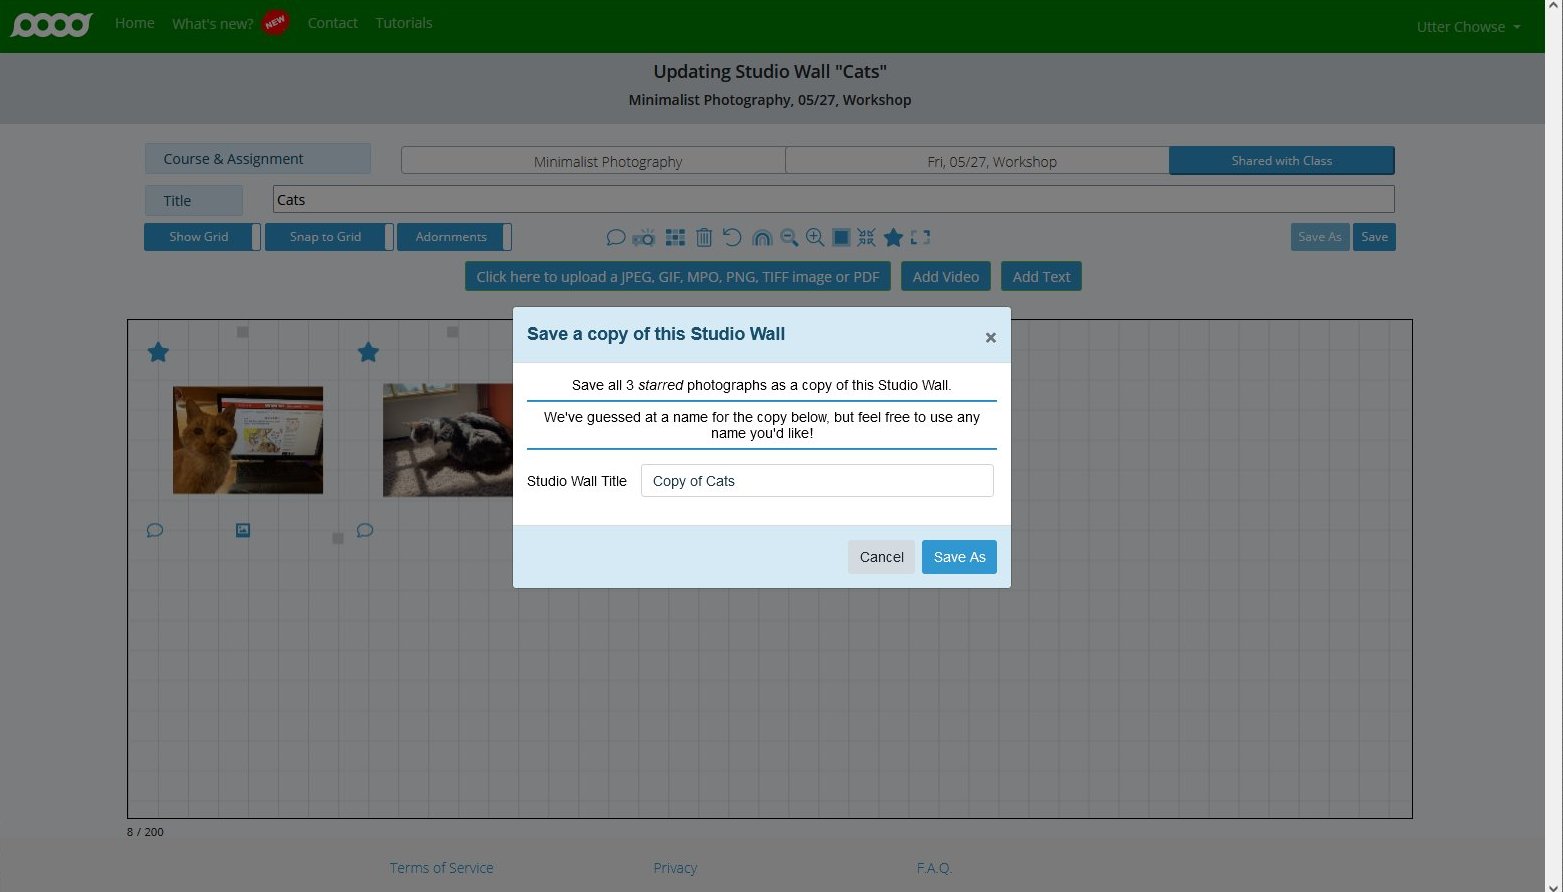
-
🖼️ All Items
If you have not selected or starred items and viewed only the starred items, when you click Save As, you will create a new studio wall with all the items on this studio wall.
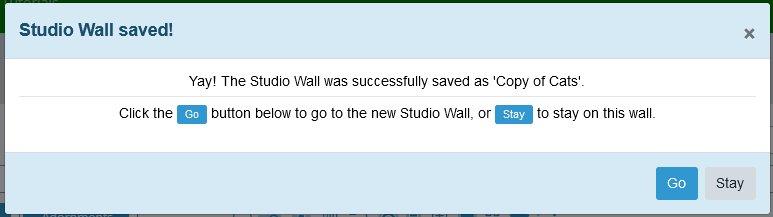
After Saving
After you have saved a copy of your studio wall, we'll ask you if you want to go to the new studio wall or continue working on this one:
What's Next?
After you have gotten the studio wall just the way you like it, you'll want to share it. And that's what the Sharing button does.